Sunday, November 13, 2011


First mobile manicure for my friend! :-)

Wednesday, October 26, 2011

Clearer pic of my latest creation!!!
I like this one a lot, haha it turned out pretty nice ^_^
Might not be everyone's cup of tea though :o

Saturday, October 22, 2011

THE ILLUSTRATED NAIL

K so, this is the salon I pretty much worship.........
If I ever manage to open a place like this/reach their standards,
Then tht would probably be my #1 achievement in life :-)
*
Everyth about them is like, frickin' flawless???
Their designs are mindblowing. Their visuals are perfect.
Their colours make my eyes feel like they're on drugs.
I don't know man, I just gotta show y'all....................
Wtf right. Wtf. Wtf wtf wtf wtf wtf.
Sometimes I wish I was even a fraction as talented as them -_-
Though I'm quite sure 90% of their stuff is using acrylics..
But omg who cares. THIS IS WHAT YOU CALL NAIL ART!!!

NOT this:

Not tht I have anyth against it but.. it's just a bit too much for me.
& it's not really art either. Do you even PAINT anyth?? I mean.......
Nothing there is even real. Not even the bloody nails *_*

Different people, different taste. Tht's all I gotta say.
OOOOOOKAY I can't stand it anymore I'm gonna sleep!
Shall go dream of working @ The Illustrated Nail tonight

Toodles~~
inspired by:
What a fulfilling manicure :D

Thursday, October 20, 2011

WELCOME

Hello wello!!!

So I've kinda pretty much collated all my nail pix/designs
& put them up on a special blog here :-)
It's obvious I've got a passion for nail art & etc, so why not right??
So yep I'm gonna keep this updated w more stuff soon to come!!
More tutorials, more designs, more tips (*COMING SOON*), & others!
Shall add a blogroll of my nailspiration too ^_^
For now it's kinda hard to navigate so just use the labels on the right :D

Alrighty for now it's time for me to sleep!!!
Super addicted to this now, hehe.
Hope I don't neglect CCP!

Love, Yzhn :-*

P.S. If you've any requests, leave me a qn on my Formspring, or just comment!!
Galaxy nails, my latest.

Wednesday, October 19, 2011

Random bird & frog I did to show a friend, hahaha
FLORAL NAILS TUTORIAL
Photobucket
#4: Floral nails~
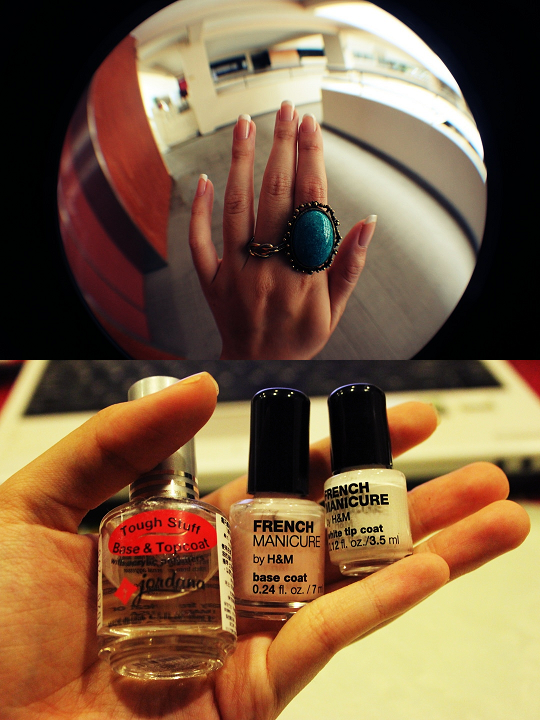
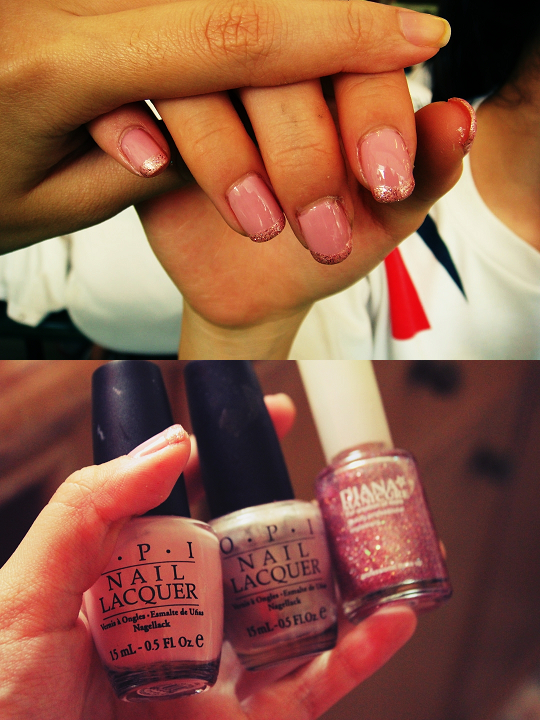
I used: DIANA blue, Rubi Miami coral, Elianto pink, CG Kiwi Cool-ada
Photobucket
1. Base coat again. Importantttt when using blue/green/etc.
You don't want your nails to yellow like mine :'((((
Photobucket
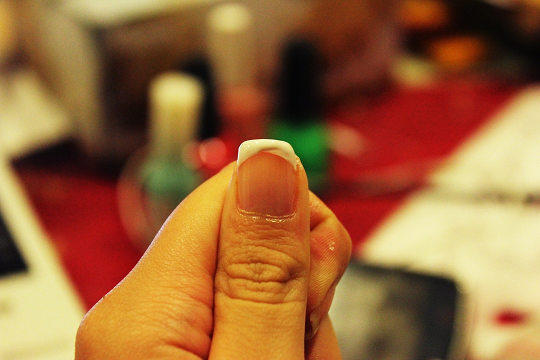
2. Apply your light blue coat~ Got this particular blue from Taiwan..
This brand is like ridiculously cheap (2$/bottle???) & quality's good!
Everytime I go back I stock up like crazy :-)
Photobucket
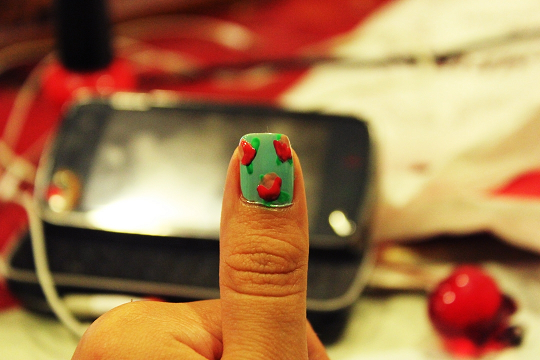
3. Paint leaves in threes w the side of your brush.
Make sure there isn't too much polish so the leaves are thinner.
This was horrible, I'm sorry I can't really do it tht well just yet :/
Photobucket
4. Apply little blobs of the pink! Whichever pink you want's fine.
I applied the darker pink here, though I'd advise the lighter one first.
Kinda forgot & went "SHIT" right after I did it hahaha. You'll see why
Photobucket
5. Apply the second pink, making it look like petals!
How you wanna do this is up to you, cause it'll look great anyway.
Use the tip of your brush here, & yeh I redid the final img LOL.
Long story cut short, if it's a blue, put your light pink first!!!
But if it's a light colour like yellow, dark pink first will do fine.
Photobucket
& yeppp I had a hard time taking pix of this *_*
FRENCH TIP TUTORIAL
Photobucket
#3: French manicure~
I used: H&M base coat, H&M white tip
Photobucket
1. Base coat! The transparent kind :-)
This is optional cause there's a second base coat later~
Btw this brand of base coat can be a top coat too ^_^
Photobucket
2. The cloudier, pinker base coat from H&M!
This is to give your nail beds a nice, healthy look :-)
You can use nude/light pink colours too.
Photobucket
3. Finally, the white tip! Sorry this was lousy :-(
But you essentially follow the white parts of your nails.
Curve up from each side & join them in the middle!
Photobucket
& you're done!!! Super easy :-)
PINK GLITTER TIP TUTORIAL
Photobucket
#2 Pink glitter tip nails~
I used: OPI Pink of Hearts, OPI Will you mari-achi me, pink glitter
Photobucket
1. Base coat once again!!! Though none is okay this time,
cause the pink is really light & won't damage your nails.
Photobucket
2. Apply 1 or 2 layers of baby pink, preferably 2 in my case.
Cause like I said, the polish is really light :o
Application was horrible in the GIF above lol, I apologise.
Photobucket
3. Apply a "french tip" of a slightly glittery, darker pink.
Photobucket
4. Apply your glitter french tip. Small glitter is advised here.
& make sure it isn't too thick, or it'll take 100 yrs to dry.
(& application here was bad once again. HAHAHA whoops)Photobucket
& there you have it! Yayer.
STRAWBERRY TUTORIAL
Photobucket
#1 Strawberry nails~
I used: CG Kiwi Cool-ada, CG Red Alert, H&M White tip
Photobucket
1. Base Coat is velly impt 4 me~
Because the red might stain your nails, leaving 'em pink :-(
Photobucket
2. Apply 1 or 2 coats of red, & use a brighter shade :-)
(you can use pink, but I think pink strawberries are ugly)
Photobucket
3. K I made this GIF a lil' slower, so y'all can see how I did it.
Basically just did 3 round "leaves" w the green polish.
There're jaggy leaves too, but round ones are generally easier.
Photobucket
4. I used a toothpick this time cause I lost my dotting tool..
Either way it's really easy. Just paint the (flat) tip of it white,
then leave a tiny blob hanging. Emphasis on TINY.
Photobucket
5. Do your dotting :-) Hahah this one was screwed..
But by the end of it, you'll get your final result............
Photobucket
Tadah :-)